Translate

Monday, June 15, 2015

Cross Canada Blog Hop : Mini Albums

Welcome to our blogging trip across Canada.  This month we are featuring mini albums.  This blog is circular in nature so if you came from Sheri Ballentyne's blog,  you are in the right place.  If you started here then just follow the links, or if you prefer to start at the east coast and work you way across Canada then start at Michelle's blog. If you get lost then you can come back to her blog as she has the complete list there.   Enjoy all the art work that everyone has made!

For my mini album I chose to use the Blossom paper and Complements along with some additional cardstock  and this is what I came up with.
For this album I took 2 sheets of Daisy white cardstock and cut them into 6" strips and scored them at the 6" mark.  I then took another Daisy White sheet and cut it into 6" squares.  Each of those pieces were scored at the 1" mark on one side and then glued to a 6" strip, making 4 17" strips.  These were then glued together in various ways to form the pages of the album.

Then came the fun part: decorating the pages.  I went to my Cricut and cut various cards for this album, some of them actual greeting cards, some of them PML cards, and some sleeves. So here is the results of my "playing".  I will warn you that this post is very picture heavy.


Front cover


Pages 2 (a pocket and 2 PML cards cut with the Cricut)  and flap. 
 This is actually a card from the Artfully Sent Cartridge, created to be a part of the album. The tree is backed with Bamboo cardstock and then filled in with liquid glass to make it more durable.


Pages 2 and 3 with top of  'card' open. Room for 3 small pictures and a bigger on the left side of the 'card'.


Pages 2 and 3 with flap open.   Page 3 is a gatefold feature.
The flap is on the right side and features a sleeve and tag.  


Pages 2 and 3 with gatefold open. Spaces for 6 pictures.


Flap on the left side of page 4 and Page 5.  
The element on the flap opens up to reveal a pop up with room for a picture and some journalling.
Page 5 has room for a 5.5x5.5" picture or 4 2.5x2.5" pictures.

Page 4 flap and Page 5 with top of flap element open.


Pages 4 and 5 with flap open.
Page 4 has room for a 5x5" picture.
The flap is another card from the Artfully Sent Cartridge, one that I have loved since I saw it at convention last year. This card also opens, revealing....

this...room for more pictures, a 2x3" and a 3x4".


Flap on left side of  Page 6 and Page7 


Pages 6 and 7 with flap open.
Space for journalling on the flap side and 4 2x2" pictures on page 6.  Page 7 has room for l larger horizontal picture or 2 smaller pictures.


Page 8 and top of flap on the right side of Page 9.
Page 8 features a pocket and 2 tags, one of them a PML card from the Artfully Sent cartridge, the other from the Blossom Complements.


Pages 8 and 9(Room for a 3.5x5" photo)  with flap open.


Close up of flap on page 9.  
The journalling spot is backed with White Daisy cardstock and then popped off the page with foam dots. This is probably my favourite page in the album.  I have seen the starburst element in pages but did not try it yet.  So I tried this and I must say I am quite pleased with the results.


The back cover (picture not shown) is made with the small print that is used on the bottom of the front cover.  The spine is a continuation of the orange on the side of the front cover and goes to the back too,

I hope you enjoyed seeing what I have been up to.  I would love to have you leave me a comment to let me know what you loved best in this album.  I am looking forward to filling it with pictures...probably flowers and blossoms...some of my favourite things in God's creation.

Now it is time to go further west in our cross Canada journey.  Hop onto Brae Montgomery's blog and enjoy the artwork that she has to show you.  See you next month when we will be featuring artwork using the Operation Smile stamp set.


Products Used in this project:
Blossom paper X7196B
Sunset Ink Z2191
Pear Ink Z2197

Twilight Ink ( retired)

Score Board Z1937

Extra Sheet of Bamboo cardstock

Extra Sheet of Sunset cardstock

Adhesives
Foam Tape


Until next time, take care and enjoy your summer.   

Lucy  :)

Tuesday, May 19, 2015

A Taste of Summer Cards

My second last post featured the paper strawberry wreath and I had left over paper from the two patterned paper sheets that I used.  So I put them to use and made these cards with it.
Card 1

Card 2

Card 3

Card 4

Card 5

Card 6

Materials used:
Taste of Summer Paper Pack CC1038 (Available May 2015 only) 
Dimensional Foam Tape Z1151 (Cards 1,2,3,4,6)
Scallop Border Punch Z1851 
Corner Rounder Z1912
Gold shimmer trim ,Z3042 (Cards 1,3,4,5)
Coral Reef Sequins z1985 (Cards 2,3,4,5)
Happy Birds Stamp Set C1600 (Cards 2,3,6)
Balloon Talk Stamp Set S1404 (retired) (Cards 1,4,6)
For All Occasions D1187  (retired)  (Cards 2,5)

If you would like to do this set of cards as a workshop please let me know and I will see to it that you get one. $25.00 for six cards precut and stamped. Instructions will be provided...all you have to do is finish them. S&H extra.

Friday, May 15, 2015

Cross Canada Blog Hop: How-To Books Scrapbooking


Welcome to our May Blog Hop featuring Jeanette’s How –To Books  for scrapbooking.  To purchase any of the items seen in our blog hop today, contact your local consultant to place an order.

We hope that you will take the time to leave comments on our posts, as we love to get feedback from our viewers....whether it was something that you really liked or some new technique that was used that you would like to learn how to do....by leaving us comments, we get to hear what you like, and what you want to see. Thank you… now on to our hop! 

If you have just hopped onto my blog, you can start here as this is a circular hop, but if you want to follow us across Canada then please start at the beginning and join Deanne Jacobs at her blog, My Little Piece of the Puzzle .   If you just came from Sheri Ballentyne's blog Sheri Says Just Scrap It then you are in the right place.  

I chose to use a layout pattern from the MAGIC how-to book.  It is call "Secret" and is found on page 120.  I loved the fact that it featured one large photo and 4 smaller photos to support the large one.


Left side of layout

Right side of layout

      There is a space on the right side of the layout to hold a CD for more photo memories, but I decided to do something different in that space.  I saw a tutorial for a pinwheel fold card on Splitcoast Stampers and really liked that idea for hidden photo and journaling. 


With some adjustments in sizing and fold placement, it now fills that space.


         I used the Artfully Sent  cartridge to make the tree.  I cut the card shape at 6 inches and then glued the shapes down on the spot that was originally for journaling to give the layout a bit more airy look.   I also used Liquid Glass to highlight some of the areas of the tree.   The journaling area is now in the pinwheel fold element, and for now is left blank so that my daughter can put her thoughts in that area.

       I deliberately left the sides of the pages embellishment free so that the pictures would show themselves better.


      For more inspiration on these books you can go to Close to my Heart's  blog and see how the design team at CTMH corporate office have adapted a layout pattern to fit the paper style.   You can also watch a You tube video about these great books. 

       Your next stop on the Cross Canada Hop is Brae Montgomery at her blog, The Brae-er.
        If you get lost along the way, you can head to Michelle Stewart's blog as she has the complete blog list. 

      Thanks for hopping along with us - we hope we were able to inspire you to get creative using some of the designs, products and techniques seen along the way. We hope you will join us again next month when our theme is Mini albums.  So mark June 15th on your calendars and hop along with us.


Thursday, May 7, 2015

The Brae-ers Blog Hop: A Taste of Summer


 Welcome to the Brae-er's team blog hop.  This month we are featuring projects using the Taste of Summer paper pack.If you came from Darcel's blog then you are in the right place.   If you get lost along the way then you can go to Brae's blog where she has the list of all the Brae-er team members who are participating in this hop.  Enjoy!

 I really like the paper...it is so fruity and has such delicious colours.  Fruit is in my favourite food group and I think I would have a major problem if fruit had to be taken away from me.
I chose to do something of a 3-D nature and only used two of the the patterned papers of the Taste of Summer paper pack. I also used cardstock to pair with these papers...and of course the Cricut came into the scene too, with the Artiste cartridge.
With some time and much patience this is what I came up with...

a grapevine wreath bearing one of the first fruits of spring/summer. I always associate strawberries with spring therefore the spring sign on the wreath. I can't wait to pop a real and luscious locally grown strawberry into my mouth this year, but for now this will have to remind me of those delicious berries!

Close-up of the bow at the top of the wreath.


Strawberry made with the patterned strawberry paper in the Taste of
Summer paper pack.

Strawberry made with ruby cardstock and Liquid Glass added to make the strawberry look more authentic. The strawberry blossoms were  made with white cardstock and the use of alcohol markers, topped with some liquid glass to give it some more dimension.
I love the end result of this project and I am excited to be able to share this with you.  I hope that you enjoy it too.

Please us again next month when we will be featuring "In the Home"  CTMH style. 

Now to go onto to  Krista's blog and see the wonderful artwork that she has created for us.  Enjoy the rest of hop and the various artwork featuring the May National Scrapbooking Month Special.


Thursday, April 23, 2015

More Confetti Wishes Cards

      Here are more of the little 3x3" cards I made using the Confetti Wishes paper pack.   Once again very easy to do and these little cards pack a punch with layering and with the bright and vibrant colors.
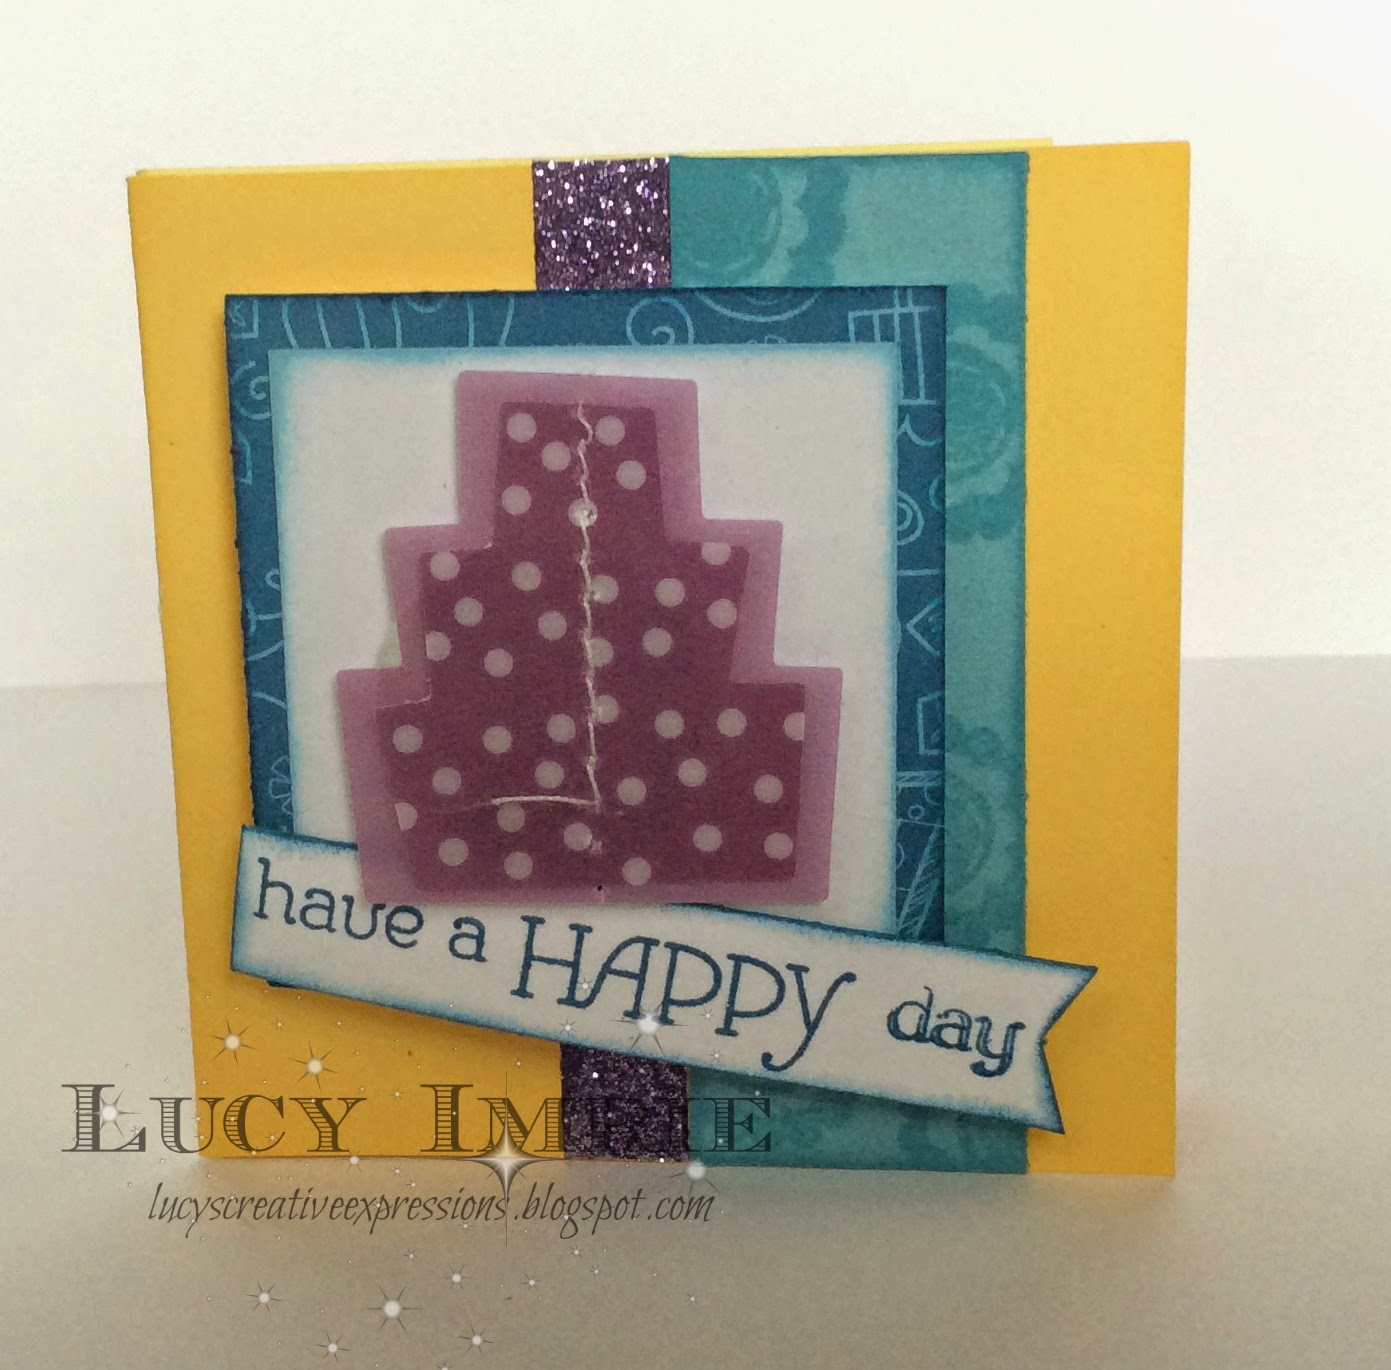
For this card I did some tone on tone stamping and then colored some silver shimmer tape with the purple ShinHan marker to make it match the cake accent.  I finished the card off with a sentiment from "Have a Happy Day" stamp set.


This peace card is designed to give to someone who is struggling with her faith.   God can give us the deep peace that we so often long for.   The sentiment comes from the base and bling 'Journey' style sheet.  I also added a bow charm from the Craft Queen charms pack as well as a rhinestone charm.


This little card should bring a smile to a friend's face.  I used the scoreboard and sand paper to produce the white lines on the canary cardstock.  The center of the card is sanded to give extra texture in the card.  Add a flower and leaves stamped from the 'Have a Happy Day - D1616 stamp set, and the sentiment Smile and the card is done and ready to go.

I hope that cards inspire you and bring a smile to your face.

Have a wonderful day!

Wednesday, March 25, 2015

Confetti Wishes Cards

       I sat down this past week and made some of these little bitty cards...they are only 3x3" in size.  I like making them, they are quick and easy.   Here are 3 of the ones I made...nice, bright and cheery...just what they should be to help someone special celebrate a birthday or another special occasion.


Do you find making cards challenging?   Then you would like the card confidence books, full of patterns for various sizes of cards.  These cards all use patterns from the Wishes (9041) or Originals (9036) How To Books CTMH publishes.  For more information on these books, please contact me.

Enjoy your day!

Sunday, March 15, 2015

Cross Canada Blog Hop: Easter Fun


Welcome to our March Blog Hop featuring Easter Fun creations.  To purchase any of the products seen  in our blog hop today, contact you local CTMH consultant to place an order.

We hope that you will take the time to leave comments on our posts, as we love to get feedback from our viewers....whether it was something that you really liked or a technique that was used that you would really like to learn how to do...by leaving comments, we get to hear what you like, and what you want to see.  Thank you...and now onto our hop.

If you have just hopped on to my blog, you can start here as this is a circular hop, but if you want to follow us across Canada, then please start at the beginning and join Julie at Her blog   If you came from Sheri's  blog then you are in the right place.

I chose to do a layout featuring the Brushed paper packet.  It is so spring-like and even though Easter is very early this year I like to think that spring is soon on its way.  I used the March stamp of the month (S1503 -only available in the month of March 2015) to create the decorative border on the Juniper card stock used this layout.  By masking the top half of the oval I was able to creat the large scalloped border.   I also used the same stamp to create three of the eggs on the right side of the layout. (Thanks goes to Audrey Cando for the inspiration on these eggs).   The green 'grass' is also done with the SOTM as are the upper branches of the flower sprigs on the left side of the layout.


There is room for 6 photos on this layout and even more if you want to use flip flaps.


Right side of the layout. I cut the letters for the title free-hand (I did not have any other stamps or my Cricut with me) and then using my journaling pen doodled around each letter.  I also used foam tape to give the flowers some added dimension.

Left side of the layout.


Close-up of the right side of the layout.  Flowers are made using the stamp set C1605 'Happy to be Friends' and Cotton Candy Ink.


Close up of the left side of the layout.   I stamped the branches directly onto the layout background  and then stamped and fussy cut the flowers that are on the branches.

I hope that you have drawn inspiration from my post.


You next stop on the Cross Canada Hop is Brae's blog. If you get lost along the way, you can head to Michelle's blog, www.mycreationswithmichelle.blogspot.ca, as she has the complete list.

Thanks for hopping along with us-we hope we were able to inspire you to get creative using some of the designs, products, and techniques seen along the way. We hope that you will join us again next month when our theme is April Showers bring May Flowers. So mark April 15th on your calendars and hop along with us.